These OneNote tips will improve your productivity and make you more efficient.
1. Use Quick Notes
Quick Notes are like the little yellow sticky notes which you can move anywhere on your screen.
Create a Quick Note
There are 2 ways to create Quick Notes in Windows:
- When OneNote is running
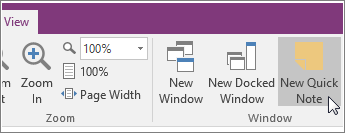
- In the menu select “View > New Quick Note“.

- Now you can type your notes.
- Quick Notes can be moved anywhere on your screen.
- In the menu select “View > New Quick Note“.
- Or you can create a Quick Note if OneNote is not opened
- using keyboard short cut “Windows + Alt + N“
Pin Quick Notes
To keep Quick Notes visible at all times, you can pin them so that they stay visible over any other windows on your computer screen.
- On any Quick Note , choose View > Always on Top. The toolbar is not visible, click the … at the top of the window.
- Now move the pinned Quick Note to the position of your screen where you want to keep it displayed.
- Un-pin the note by repeating step 1 (the button is a toggle).
View Quick Notes
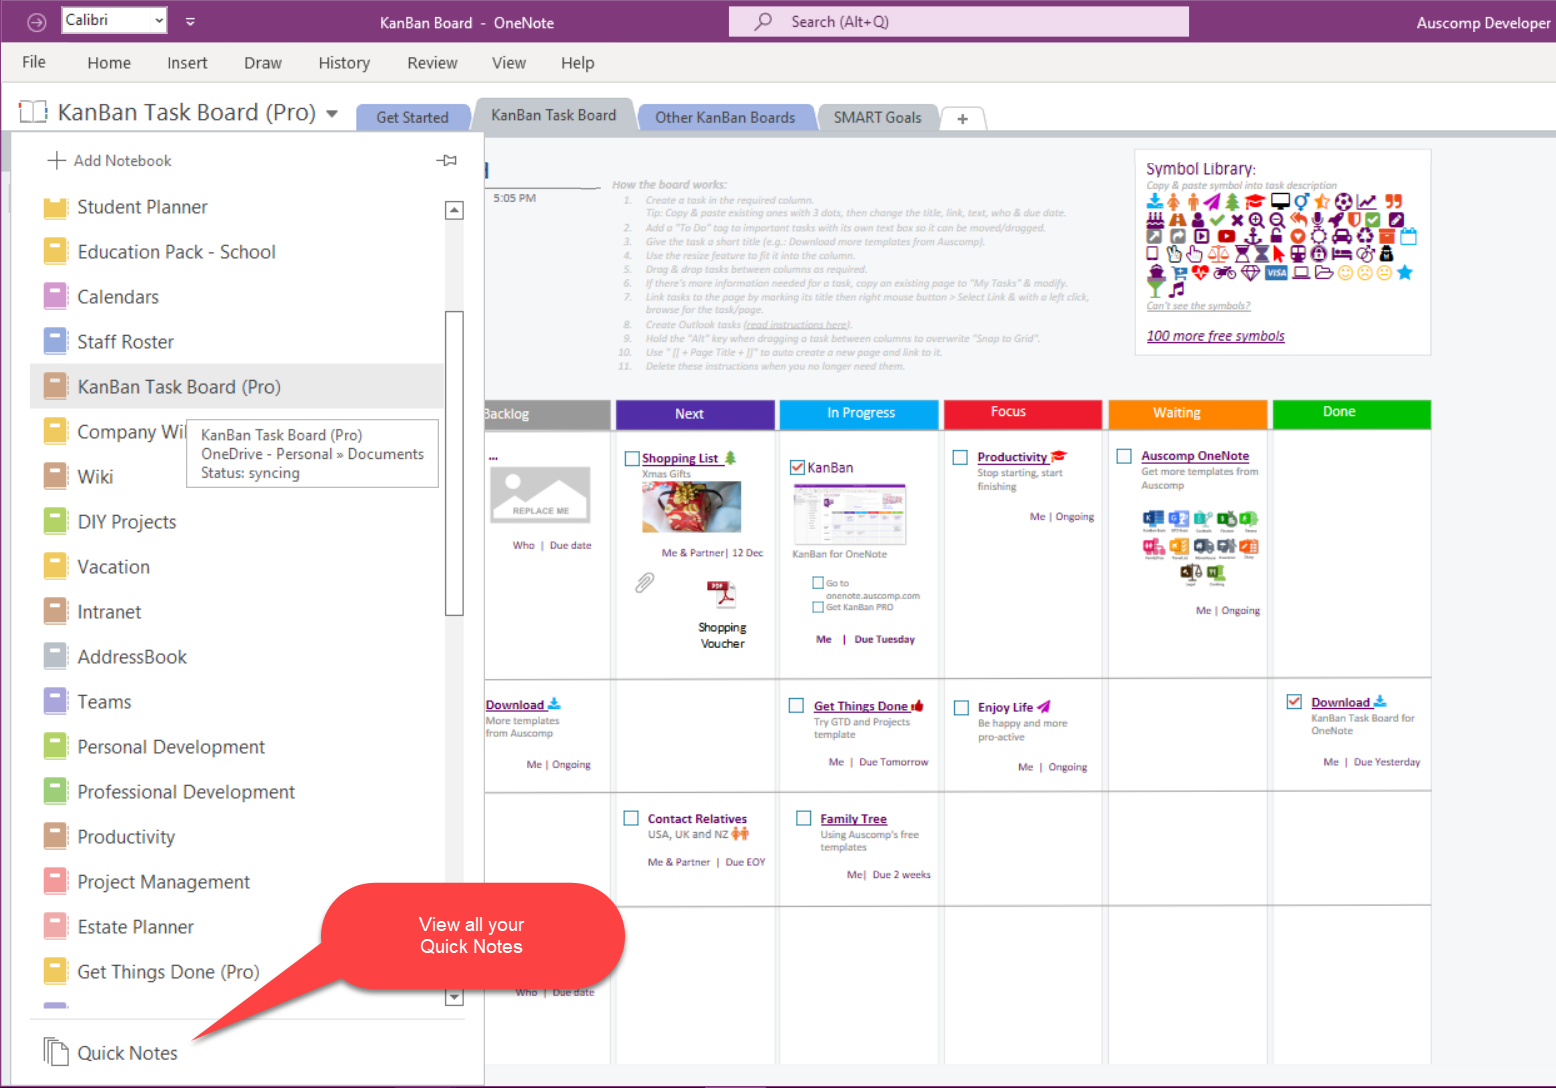
To view all your Quick Notes click the Notebook dropdown list.
Click on “Quick Notes” at the bottom left of the list.
2. Edit Embedded Files
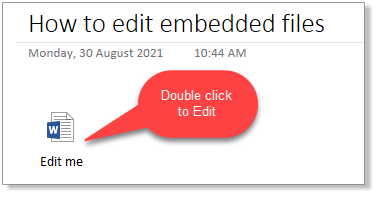
You can attach any file to OneNote, including all Office 365 supported formats like Word, Excel, and PDF files. To edit you don’t need to leave OneNote, just double-click to open it and edit.
3. Scan documents directly from your phone to OneNote
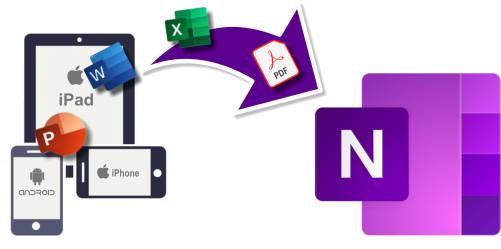
Using Microsoft Lens, there is no easier way to scan and send the copy to OneNote.
- Install Microsoft Lens for iOS or Android.
- Then use it to take high-quality scans of multi-page documents with your phone and then upload them to any number of destinations, including OneDrive, email, and OneNote. Just choose the Notebook you want to copy it to.
TIP: You may want to use OneNote as a your default storage for all your important documents.
4. Convert Handwriting to Text
If you use a stylus with a laptop, tablet, or mobile device to jot notes down in OneNote, you may also also convert those handwritten notes to digital text.
Here’s how:
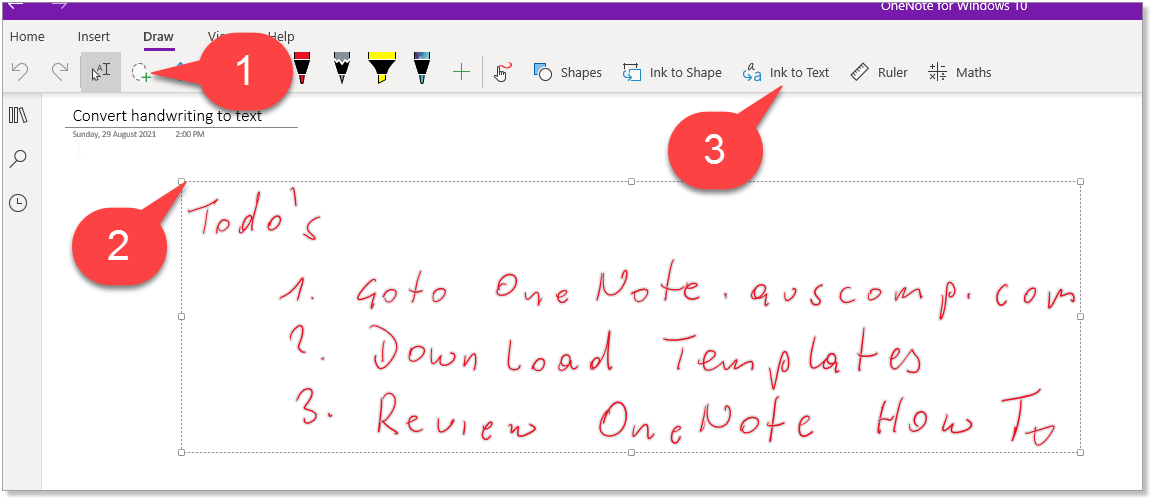
- On the Draw tab, choose the Lasso Select button.
- Drag a selection over the handwriting you want to convert.
- Then click “Ink to Text”.
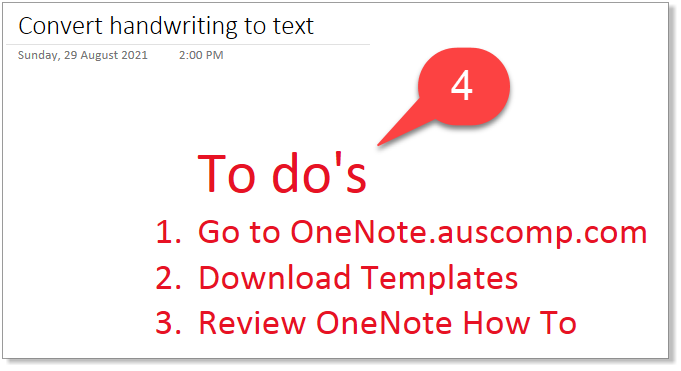
4. OneNote will convert your handwriting to text as best it can. There may be an error or two, but the text will be editable so you can correct anything if need be.
5. Backup your OneNote data to your PC
OneNote not only lets you backup your data manually you can also automate it. In addition to backup, you can also customize the saving locations of your data.
Here is how:
- Open OneNote Desktop for Windows.
- Click “File > Options” from the menu.
- Now select “Save & Backup“
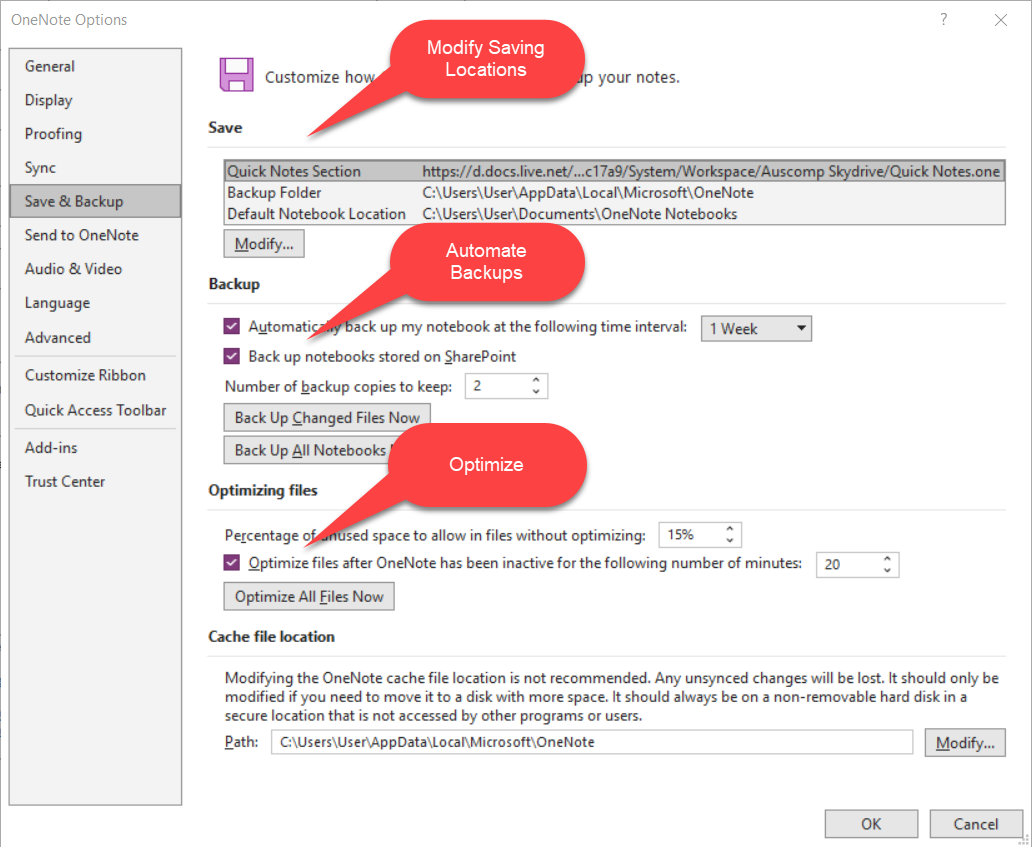 This gives you the option to modify the saving location of:
- Quick Notes
- Backup Folders
- Default Notebook Locations
- To automate the backups to have hourly, daily or weekly backups.
- And to optimize OneNotes files.

